Barry and I have just spent a great weekend with the Queensland Bookbinders Guild, doing the Introductory bookbinding course.
Whilst I may make book; I Have not had any real understanding of how to properly bind books, so we thought it would be good to develop some skills if we are planning to print some letterpress books with decklededgepress.
The photos are pretty random and the book is still drying and not perfectly finished, but when it is I shall share it!
I learnt so many things - here you can see how I might need to learn to saw a bit deeper on my kerfs (what a delightful addition to my vocabulary that word is).


The extra joy of practising weaver's knots to join threads...always does my head in and so it was good to have to do a few - helped me memorise them a little bit better.

And some of the cool tools you meet along the way - this safety cutting ruler that has the hinged bit to protect your fingers - genius!


And me oh my, I rounded my spine. I loved this bit - it was like magic as you hammered gently on the spine and rounded it - producing this beautiful concave curve at the forage. It was soooooooo satisfying!

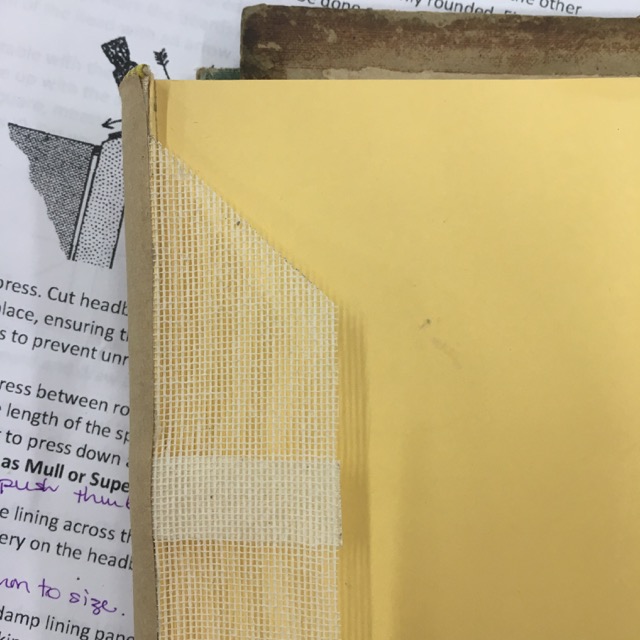
We worked with pre-prepared packs, so I traded my green buckram for purple (no surprises there) but that meant my end papers were golden yellow. A bit of a tricky match for purple, but I pretended they were orange and found I could live with them.
The next tricky part was selecting a headband for the book that would blend with my two rather special colours - I went for this yellow/grey blend and I think it was a good choice.

Look at that rounded spine!!! And that beautiful headband in place.

Covering the spine and preparing to glue.

I went double purple on the case. Bold purple buckram for the spine and the corners and a patterned purple paper for the rest. Heavy duty purple.

And this is as far as my photos go! I have actually glued the endpapers down and have a text block sitting within a case, but it is still drying - the paste takes a few days to really cure before you can do the finishing touches to it and I don't have photos of it at that stage, but once dried and trimmed I shall share.
It was a really good weekend: a well run course, well-paced and full of additional bits of learning. Excellent resources and the chance to purchase materials rounded it off and we both came home with our heads buzzing and another book to be made!
Whilst I may make book; I Have not had any real understanding of how to properly bind books, so we thought it would be good to develop some skills if we are planning to print some letterpress books with decklededgepress.
The photos are pretty random and the book is still drying and not perfectly finished, but when it is I shall share it!
I learnt so many things - here you can see how I might need to learn to saw a bit deeper on my kerfs (what a delightful addition to my vocabulary that word is).

Sewing onto tapes, and trying to work out how firmly to pull the stitching - not so loose that the pages flop about the place; not so tight that the spine loses flexibility.

The extra joy of practising weaver's knots to join threads...always does my head in and so it was good to have to do a few - helped me memorise them a little bit better.

And some of the cool tools you meet along the way - this safety cutting ruler that has the hinged bit to protect your fingers - genius!


And me oh my, I rounded my spine. I loved this bit - it was like magic as you hammered gently on the spine and rounded it - producing this beautiful concave curve at the forage. It was soooooooo satisfying!

We worked with pre-prepared packs, so I traded my green buckram for purple (no surprises there) but that meant my end papers were golden yellow. A bit of a tricky match for purple, but I pretended they were orange and found I could live with them.
The next tricky part was selecting a headband for the book that would blend with my two rather special colours - I went for this yellow/grey blend and I think it was a good choice.

Look at that rounded spine!!! And that beautiful headband in place.

Covering the spine and preparing to glue.
I went double purple on the case. Bold purple buckram for the spine and the corners and a patterned purple paper for the rest. Heavy duty purple.

And this is as far as my photos go! I have actually glued the endpapers down and have a text block sitting within a case, but it is still drying - the paste takes a few days to really cure before you can do the finishing touches to it and I don't have photos of it at that stage, but once dried and trimmed I shall share.
It was a really good weekend: a well run course, well-paced and full of additional bits of learning. Excellent resources and the chance to purchase materials rounded it off and we both came home with our heads buzzing and another book to be made!


