Showing posts with label Concrete. Show all posts

Sunday, June 9, 2024

The cubes

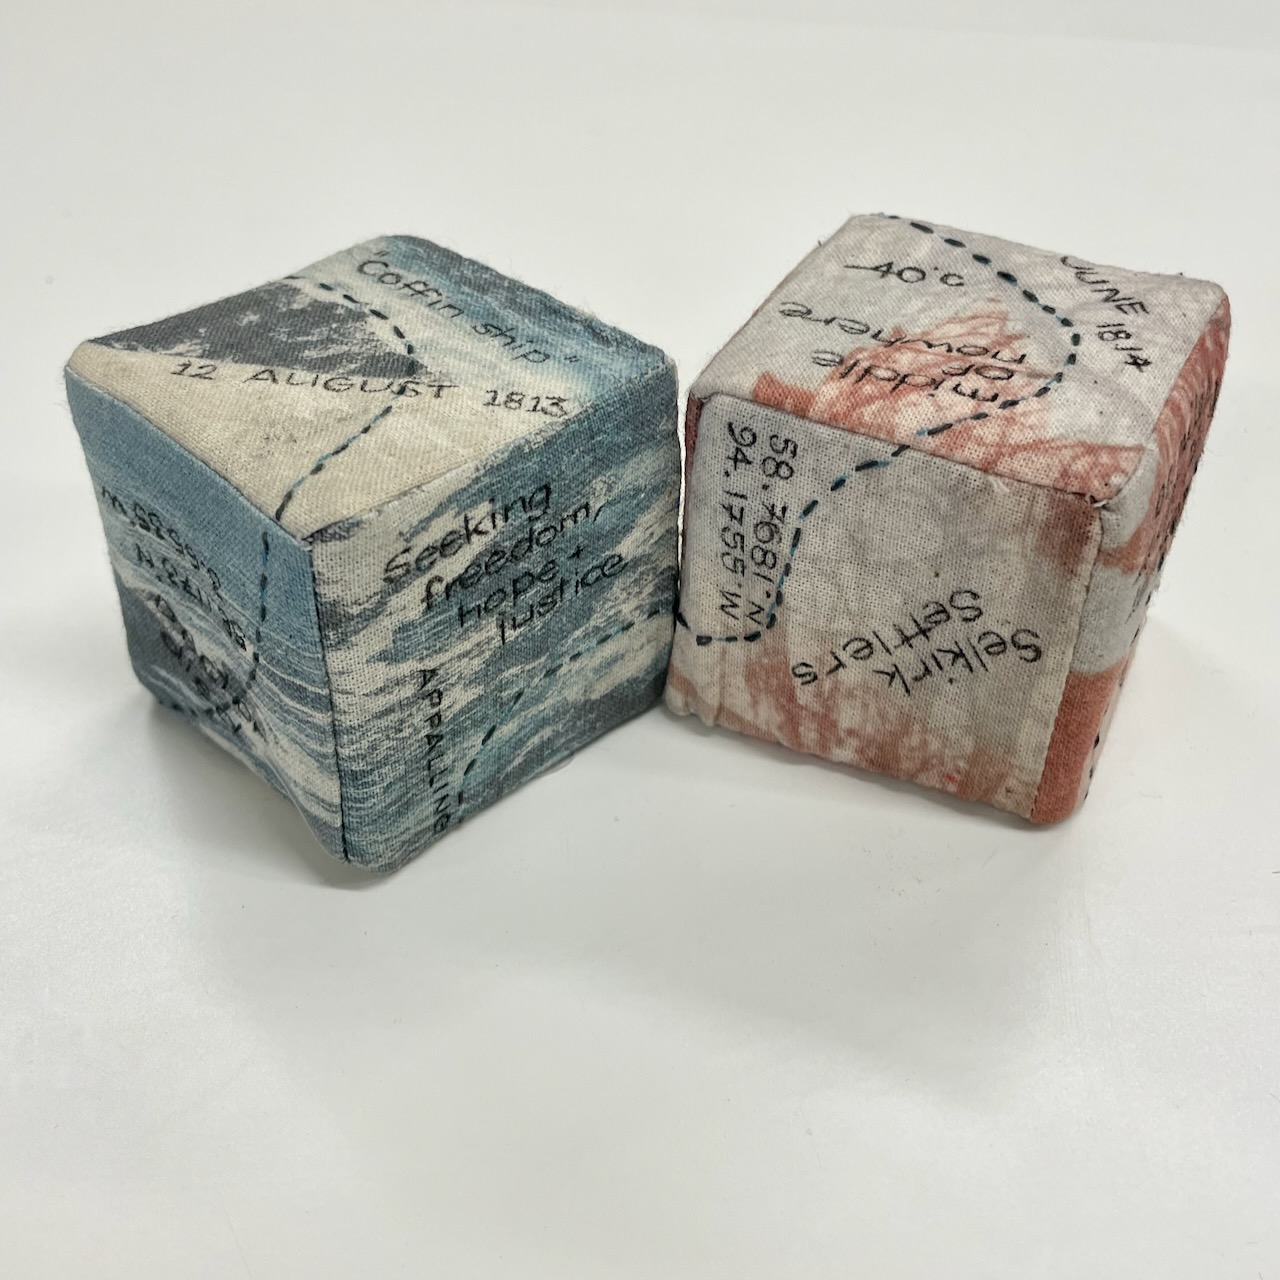
 With refreshed mind and eyes and hands I was also able to get in and finish off the fabric covers that go around the cement cubes.

I drew the travel lines on with my frixon pen, and stitched them with double strand dark grey thread. Then I tacked the folded edges down to make sure I knew the space available for the writing. 


I began adding some writing to the cubes, describing a dangerous sea voyage back in 1813.


And some notes about the landing in Canada and the new life to be built there.


Upside down they looked pretty good.


And right way up they did as well. 


No photos since bringing them home; but thanks to Liz A, I was able to remove the frixon pen marks by using my hair dryer as the heat source, rather than an iron!

I might be a while before I can pull together their whole story and display, but I am happy to have made it this far.

Tuesday, March 26, 2024

Working cubes out...

 For one of my remaining pieces for the Scottish exhibition I am trying to work out how to create artwork on fabric and cover two cement cubes. I know right? 

This was the play that made me think about it and how they might be positioned if I ever make them, but first things first...


Before working too hard on the printing/creating imagery and artwork on calico explorations, I thought I'd better see whether I could even wrap a cube so to speak.

I found a video tutorial about creating a cube that you could stuff with foam and make into a squeeze and fiddle type object and followed along with that.

Unfortunately I took no photos of the preparation phase, just the almost complete object. However there were 6 squares of calico, stitching four of them into single row and then adding one either of the second square in the row - making a 't'. Then some clever joining seams and voila as they say in the classics.


Of course I was there for the random dangling threads, but I do know it would be better if I trimmed them.


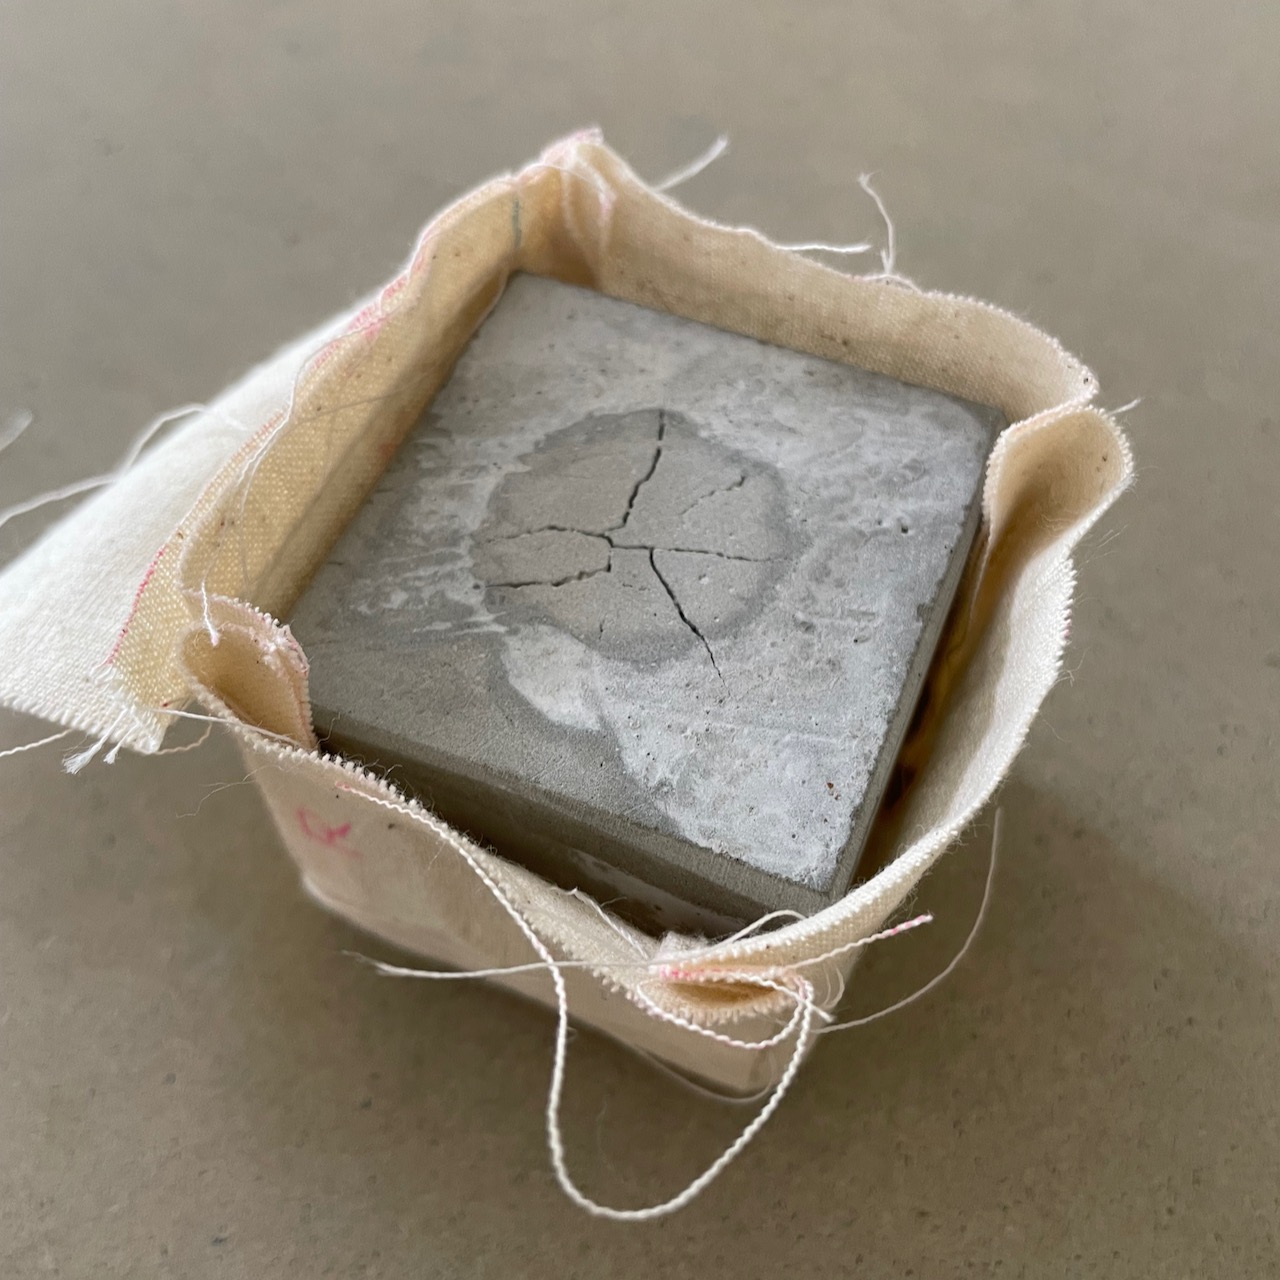
I popped my trial cube in and it fitted pretty well.


Rather than just leave a small hole to pull the cube through to the right side and to put the stuffing in; I needed to leave three sides undone in order to sit the cube in; and think I will need to hand stitch three sides.

I was faced with how to keep the seams tight as I pulled the lid over for sewing and came up with this .


And then I will fold the lid over and stitch it down.


I think.

I am now about to go discover if there are real patterns for sewing an ottoman cover which also needs the full cube popped into it; and of course, am now wondering if in fact I should hand sew all the seams! Laugh.

First up I have to make sure I know what sort of story I am trying to tell with these cubes and what sort of imagery and details they will each have. Then I need to work out of in fact I can achieve that. Do I work on each cube square separately before joining? Or do I wait until I have the 't' and design the work onto that? As ever a myriad of questions wait to be answered, but the only way to find out is to give it a go, so here we go! 

Tuesday, January 19, 2021

The letters are out!

 We got back to Barry's shed the other day to remove the concrete letters from their moulds.  It was an interesting process!

At times the skinny bits of silicone fought to stay attached to the concrete; whilst the nice long thick bits were happy to be released.

Here's what one of the moulds looked like after some effort. Rather warped, odd, and almost rude in places!


The letters are all out and tidied away now as we plan our next steps and what to do with them.


Barry did the major sandpaper grinding off of the bottoms; whilst I did the fiddly filing on the curves and cracks.


None of them are perfect but I like their little quirks.  It was excellent fun and I am sure we will do more!


Tuesday, January 12, 2021

Lovely letters

 Sometimes it's the random things that catch your eye; that you act on, that you get delivered, that you vaguely recall what you had in mind, that you then pack away and then later on recall, and then get excited about all over again!

And so it was with these silicone moulds for concrete letters.

We had purchased three sets a while back and finally got around to playing with them during this resting down time. And such fun it was.


With no real idea of how to do it, we gathered some tools for general concrete use and a bowl for mixing our small bag of concrete and headed off.


We filled the moulds, and tamped out as many bubbles as we could. 


We were generous in our filling.


We managed to do two full alphabets, and a few more in the third from a single small bag.


It was quite detailed and time consuming in its own wee way - trying to gently fill each letter, tamp it down, top it up wipe off the excess etc.

I am sure we will be better at it next time around - the tools were a tad too large for the job  and we think we could make the mix a bit runnier, but that's what happens isn't it? You learn.

And then because the colour complements so well... we discovered this gin over Christmas. The name ink seemed perfect for printmakers right?

Plus the colour. So perfectly purple.

Until you add tonic - then sweet pea pink it becomes!

I am easily entertained...