Showing posts with label Natural dyeing. Show all posts

Sunday, March 31, 2024

Taking a deep breath and beginning

 One of the main pieces for Scotland involves seven bobbins with seven hand stitched scrolls. As ever, a lot of preparation has happened to get to this point where a needle goes near fabric.

Firstly I had to try and find seven wooden bobbins. We were lucky to come across a stash in a nearby antique shop so we snaffled them and brought them home. I was trying to work out the descending measurements and B kindly cut the bobbins that needed reduction, and we glued them back together so there are now 3 pairs of different sizes, and one large central bobbin.


Another step involved having seven sort of matching rusty tins, so I painstakingly went through my rusty tin stash and tried to pull together seven tins that were siblings and might be able to go together. 


I learned how to hand stitch run and fell seams to create the seven scrolls (after all the fussing that went into measuring and choosing fabric).

I bought a bunch of embroidery threads that I thought might suit the work, and which complemented my own threads which I had chosen.


I had created a very long list of words - a bit like a shopping list but different - and then transferred some of them onto the fine fabric.


And started stitching.


I am very conscious that there is a lot of stitching to do, and I am still strangely anxious about overdoing it and damaging my hand again, so I am going slowly.


But the first scroll is done!


Cautiously, and slowly, onwards.

Tuesday, March 19, 2024

Visiting my work at All Stitched Up in Gympie

 We finally managed to head north to Gympie to see this show, where I had three pieces display. As anticipated it was beautifully presented and curated, and in fact, when I walked in and saw my work on display it took my breath away a bit.

It looked so serene within the space.


And I was very happy to see it.


I loved this work by Sandra Pearce - the delicacy of it, and how well the words fit the work...


I also loved this form by Joanna Faber.


And the way these pieces were displayed.


All in all, it was well worth the drive, ad real delight to see such a variety fo work in such a beautiful space. Huge thanks to all involved.

And then for the briefest of moments as I walked past, the sun shone and the birds had shadows!


Sunday, March 17, 2024

Completing the pegs

 And here we are, with the work completed.

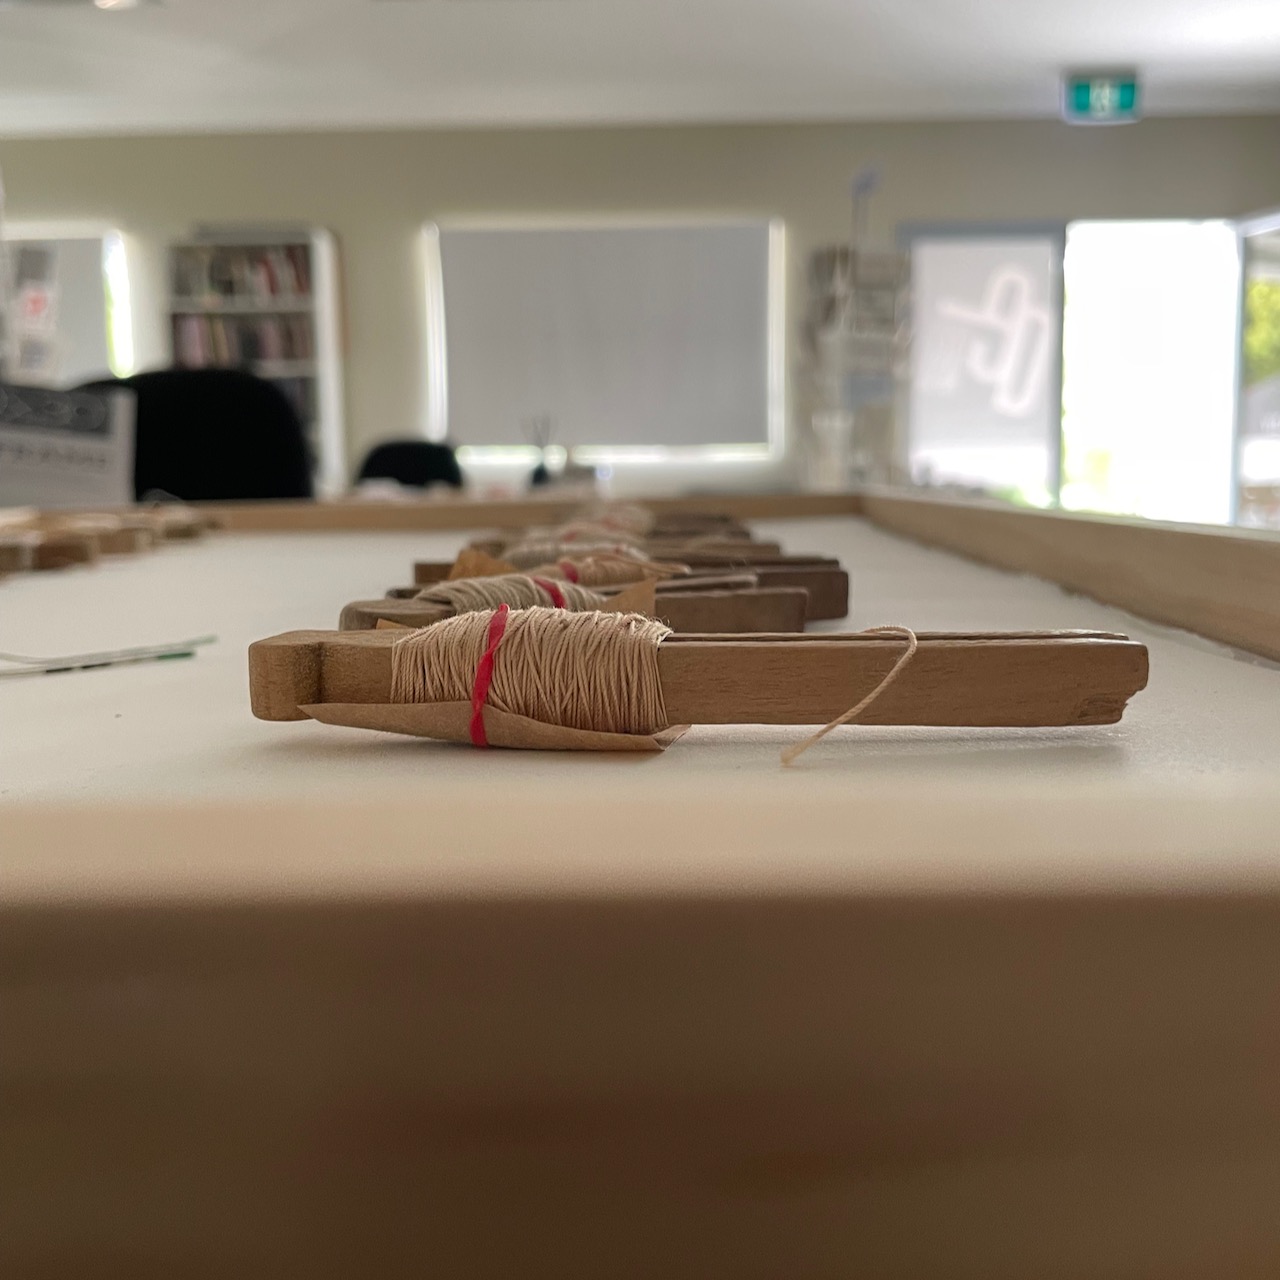
I had done so much to get this work this far, but there were still plenty of moments that needed to be worked through in order to get it done. I had managed to do the stitching lines, and to attach the pegs with wire. But now the challenge was to attach the paper to the canvas.

As Barry had looked at my design earlier, he had said - maybe the  Xs could be how you attach the paper to the canvas. And I was so excited as it sure beat trying to line up the pegs and poke holes in the canvas and tie the wire through the canvas!

First up I wanted to secure the paper to the canvas so it didn't slip and slide - I had cut it to fit perfectly so there was not a lot of margin for error. Bull dog clips and some grey board to protect the paper did the job. It felt really secure.


And then the funniest stitching team work began. I sat on the floor, we extended the canvas beyond the edge of the table, I would begin underneath the canvas; B would take the needle through the canvas from the top; together he would then help me find the next hole to pierce from below; and then he would send the needle back through from the top.


My abs got a minor workout as well!


Me finishing one of the Xs off underneath.


B about to pass the needle back through from the top.


Then we had to line up the canvas within the frame and secure it in there. It came with some spacers os that really helped.


And then we screwed the canvas and its boards into the frame and ta- da it was done!


I oftentimes include a little X somewhere in my work - to place me within it, help me find my place, connect me to the work, and so on.  Here they do the same thing, but also often an excellent anchoring option!

And so it is done, This labour of love and pondering over years. It will head to Scotland to be shown in my exhibition "Hame" in September. It explores how I feel about having two homes, both beautiful, and how somehow, across the many miles, they connect and are one in my heart. Beautiful threads from here, and from there, connect.

I am still deciding on a title, but it is somehow about threads connecting...

Sunday, February 25, 2024

Exhibition - All Stitched Up

All Stitched Up is an exhibition by Paper Makers and Artists of Queensland, being held at the Gympie Regional Gallery from 22 February to 23 March 2024.

The Gallery is open Tuesday to Saturday, 10am - 4pm.

Three of my pieces were selected for this exhibition and I am thrilled to have them shown in such a fabulous venue, with so many other wonderful paper artists.

The first piece is called Postcards Home and I have blogged about it previously here.

"Contemplating home in two places; sending messages from here to there and back again…"


Handmade paper from recycled and natural fibres, botanical dyed threads (agapanthus, rosemary, comfrey, from one place; stinging nettle, thistle, scabiosus from the other), hand stitching, Perspex.


The second piece is called Homecomings I-VII

"Journeying, travelling, moving between two places. Finding home."


Graphite rubbings from two places on Japanese Kozo and Hosho papers, machine stitching, embossing, Arches Velin paper 


These are simply three of the seven - all seven can be seen on a recent Thursday Thoughts post here!

The final piece is called Home is...?


"Home is stitched together from memories, places, and people."


Graphite rubbings from two places on Japanese Kozo and Hosho papers, machine stitching, hand stitching, Khadi paper 320gsm, Perspex


We hope to visit in the next wee while and see them on show.

Sunday, February 4, 2024

Hand stitching lengths of fabric

 One of the pieces of work for Scotland involves joining quite a few lengths of fabric to create seven scrolls, which will drift down some plinths Barry has been making for me.

I decided to join the different lengths by doing hand-stitched run and fell seams, which of course, I dreamt about how to do at night but then ended up watching a YouTube clip to put me right. So glad I did, as I learnt many a good little tip. The woman there hand stitches historical clothes so she is more of a perfectionist than I needed to be, but I digress.

First up, I wanted to stitch the scrolls with some of the flax thread I had been gifted by the gorgeous folk at Gongcrafts, the natural dyers of wool who live in a nearby village to us in Scotland.  I have shared some of my struggles with unwinding and re-winding the flax thread here, but I hoped that the hard part was done and that I could now simply merrily stitch my fabrics together.


As you can see from the photos, the thread still wanted to stick to itself as I drew it through the needle, and the needle through the fabric, and then tear, and I gave up after half a dozen stitches. I was sadly disappointed, but will keep working out ways to use the thread!


I then turned to some crochet cotton thread I had dyed using the Devil's Bit Scabiosus flowers from Scotland and you can see they stitched very nicely in comparison.


Not that I stitched so very nicely, but after watching the You Tube I learned to draw a stitching line if I really wanted to do straight stitches.


I did the fell part with a tiny diagonal stitch and this is how the seam looked from the back.


And this is how it looked from the front, so I thought yep we are on to something.


And away I went. I have cut down all the fabric I need, and now have seven lengths to create - from 2.0m down to 1.7m; some involve joining three lengths, others involve joining seven. So I at least got to practise hand stitching run and fell seams!


With loads of notes to self and calculations...


They are now all joined and looking pretty OK and tidy.


Now to hand stitch onto about a metre length for each scroll - a fair mountain of work awaits!

Sunday, January 7, 2024

Taking fabrics and threads further

 Work is progressing and whilst things are a little bit here and there still at this time of year, it feels good to be back and moving things along.

Both of these works are for a solo exhibition I have in Scotland toward the end of the year, and they form part of 6 relatively major works I am doing for the show. I have sorted out two pieces; I have these two underway and have no idea about other two yet - so am waiting for inspiration to arrive...

Nevertheless, we progress.

The fabric I was prepping back here has taken the next steps. I have measured lengths of differing widths as I will need seven pieces of different widths (well, one at 14.5cm, 2 @12.5cm, 2 @ 9cm and 2 @ 7.5cm wide) and different lengths, ranging from 1.7m up to 2m long, so quite a few lengths really. There has been a lot of measuring and calculating.

I spent some time this weekend tearing the fabric into widths and then calculating lengths and how to create the right length from a variety of fabrics. My brain did get quite mushy towards the end of it all, but here is how the piles are looking in preparation.


The next steps will be joining the different fabrics to create the right lengths, and then I begin stitching into them; once I have designed the stitching that is. As ever, my work is slow...

In between times I have been taking the work with the pegs further. I have found the frame I want to work with and have trimmed some paper to size to do my trial. I have selected the paper for the final piece after comparing three different ones for strength, weight and colour. 
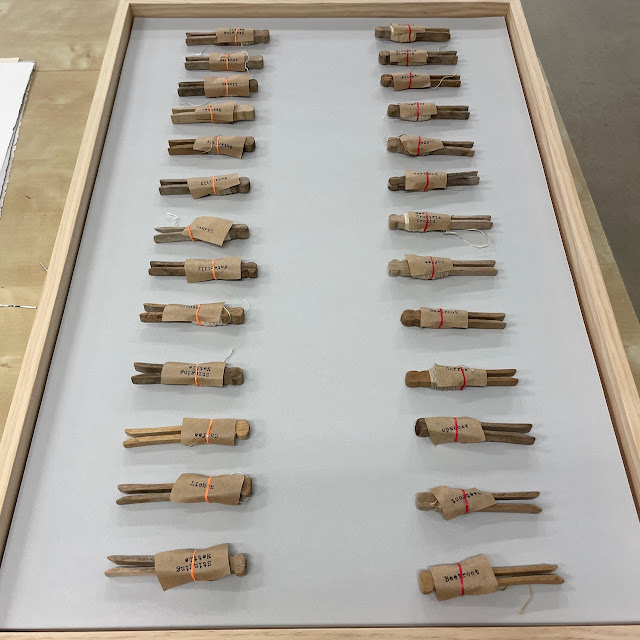
Here I am checking that the pegs won't be proud of the frame when I have attached them to the paper and the canvas. A very hi tech approach - the eyeball.

I have worked out the layout, the direction of the pegs, the distance between the two columns of pegs and the distance between each peg in the column. I have worked out which way the thread will unfurl from each peg and think I have come down on the side of attaching the labels to the paper slightly underneath the peg (above the peg seemed to distract bit too much, although that is not yet completely resolved). 

I have played around with how the threads will come across from each column and intersect, what colours those threads might be and just how I might stitch them.


I have also selected the colours and the sequence of threads for the stitching , and also how I will attach the pegs to the paper; and then to the canvas. I still have to purchase some thin silver-copper wire for that. Each peg will be held in three places, so I will be piercing 6 holes per peg; and then piercing stitching lines across the page as well.

I intend to do a template-test-trial first just to make sure my ideas pan out; then I will have to do the final.

So, it is good to have started early with this one too!