My work is slow and sometimes some work is slower than others.
I am preparing the final piece of my pegs. My pegs, which I have carried around with me since at leat 2019. That I have wrapped and unwrapped, tidied up, switched over the style of peg, played with as an art installation and finally worked out what they are meant to be.
I have loved these pegs at every stage of our relationship and am thrilled, and scared to be finally committing to their artwork.
It involves attaching them to a large sheet of paper, and adding stitching around them.
I have spent hours considering which threads to use. I have spent time trying to work out their layout and sequence. I have spent ages determining their placement and measuring the distance between them. I have spent many mouton working out what colour threads and combination might support them. I have done so much thinking and preparing, and now the time has come.
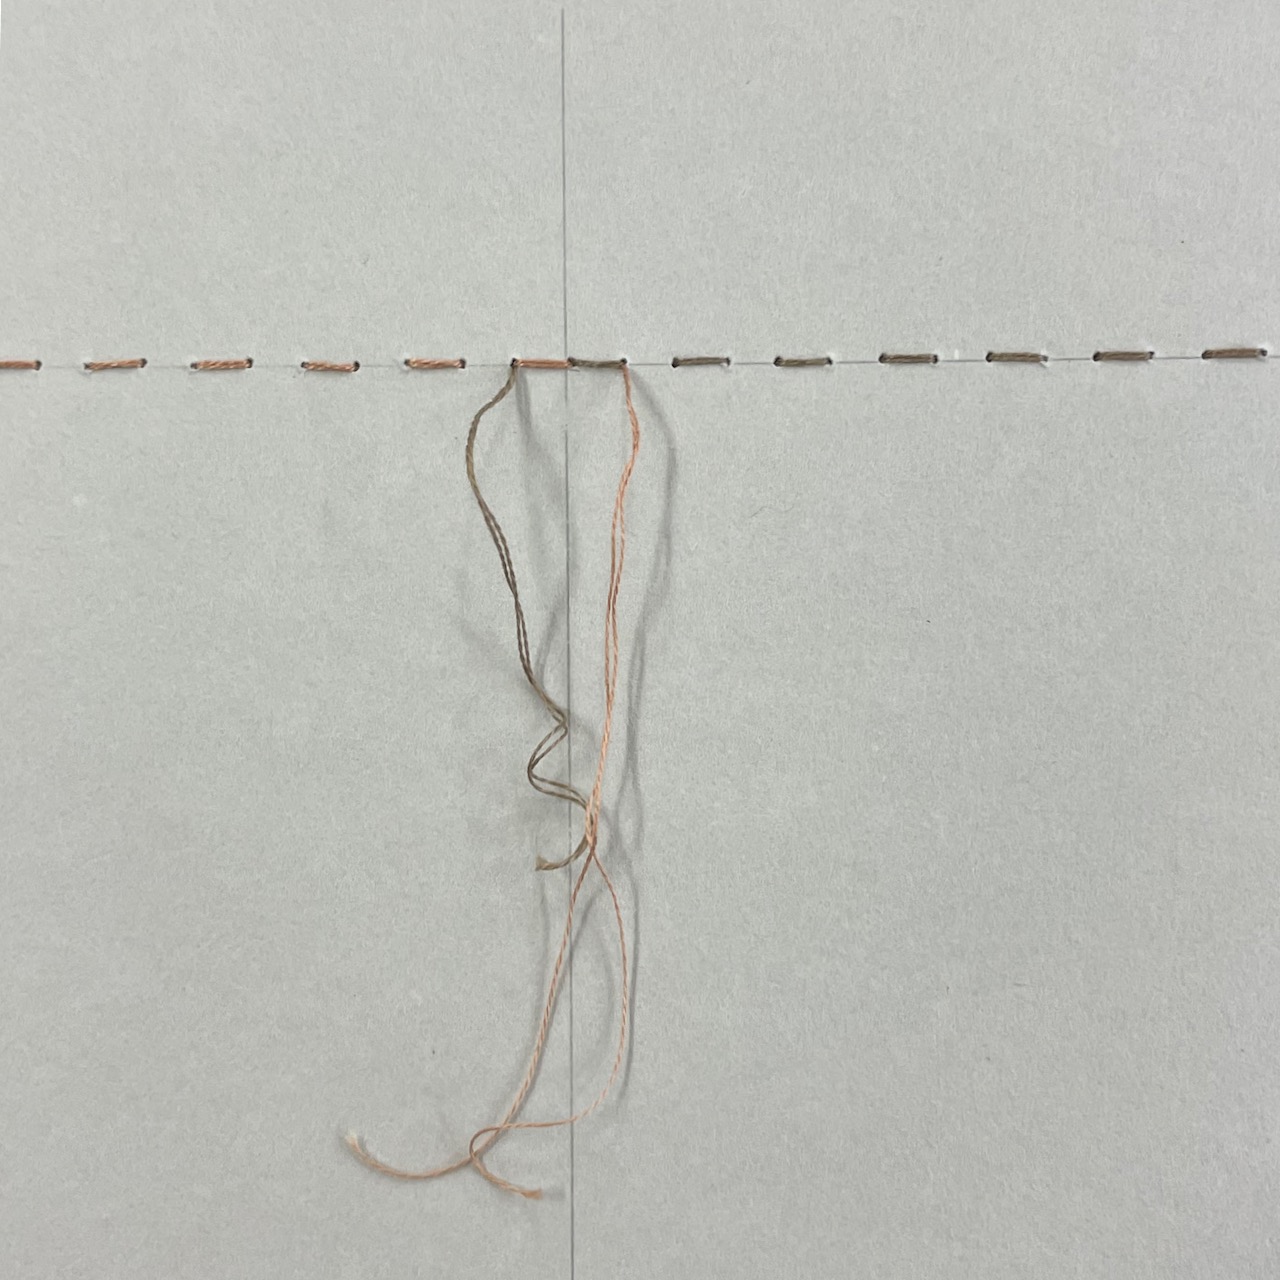
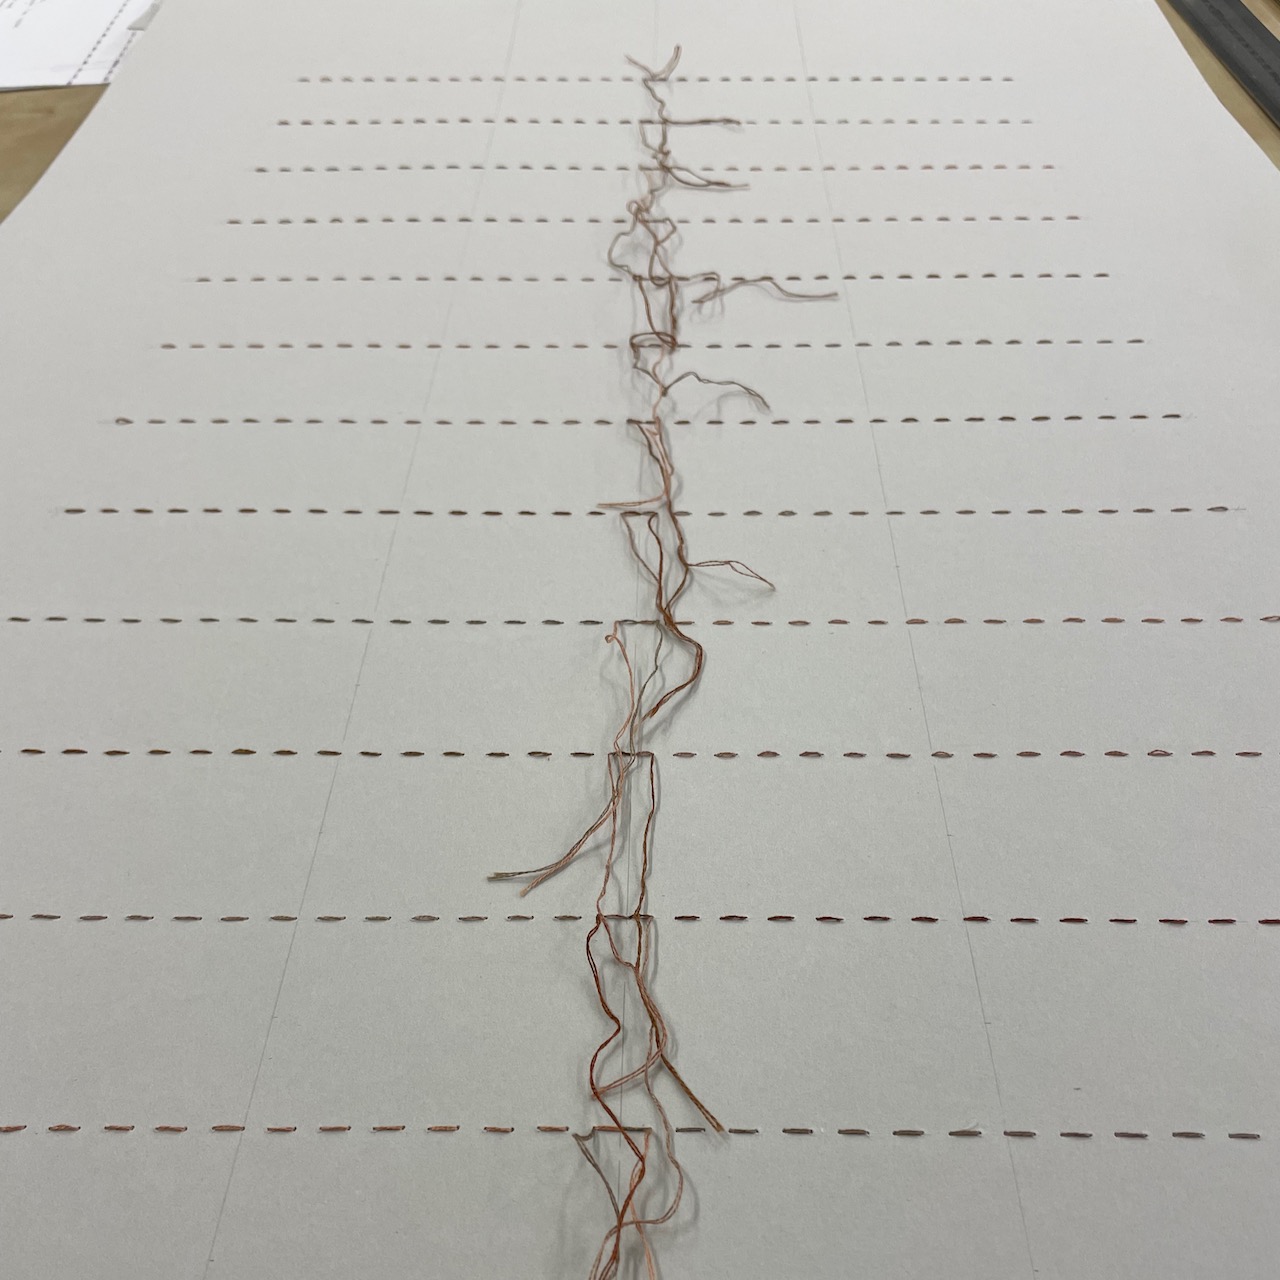
I committed to the paper and started a trial piece. This nevertheless involved all the measuring and marking that the final will need.
I was trying for a vertical central line to stitch to; vertical lines to line up the heads of the pegs with; and horizontal lines for the running stitches. The running stitch lines then had to be marked out at 5mm distances, then holes pierced. One always pierces the holes in paper before stitching, rather than try to rely on the needle to pierce the papers we do with most fabrics.
I was trying to workout here as well, whether or not, and how to, include the labels I had been using.


Onwards.
I rather like how the ends of the threads act like curling ribbon after their transits through the holes ... and your precision absolutely delights me!
ReplyDeleteI really enjoy the interaction of those threads too. And it baffles me that sometimes I can be so precise and care for every small element; and in others I can be far less concerned with accuracy! This one really called for attention to many details...
Deletefascinating
ReplyDeleteThanks Susan, I know when it is done folk will probably think - oh nice, she attached some pegs to some paper and did some stitching! I feel somewhat validated because Barry has actually seen pretty much every step along the way and therefore at least one other person on earth knows how much thinking and planning and plotting and measuring went into it! Laugh. Go well.
Delete